XS2F-D421-S077 View Datasheet(PDF) - Unspecified
Part Name
Description
MFG CO.
XS2F-D421-S077 Datasheet PDF : 28 Pages
| |||
Pin Block
(Screw-mounting Connectors)
Cover
Triangle mark
Cover lock Pin block
• Align the triangular marks on the pin block and cover and
insert the pin block into the cover.
• Press them together firmly (0.39 to 0.49 N·m) until the pin
block does not come out of the cover.
(5) Mounting Cap
• After mounting the cover to the pin block and the cover
snaps into place, tighten the cap securely by hand within a
torque of 0.39 and 0.49 N·m.
Note: If the cap is not tighten securely enough, the degree of protection (IP67)
may not be maintained or vibration may cause the cap to become loose.
Do not tighten the cap with pliers or similar tools; they may damage the
cap.
A Cap
• After fully tightening the cap, length A should be
approximately one of the following according to the cable
external diameter and the Connector model.
Connector
For 6-mm-dia. cable
For 4-mm-dia. cable
For 3-mm-dia. cable
Cable external diameter (mm)
6 mm 5 mm 4 mm 3 mm
1
0
---
---
---
2
1
---
---
---
2
1
(6) After Assembly
• Confirm the insulation between cores after completing
assembly.
Recommended Cables
When connecting a commercially available cable to a
connector assembly, use a cable with an outside diameter of
3 to 6 mm and core sizes of 0.18 to 0.75 mm2 for crimping
connectors and 0.5 mm2 maximum for soldering connectors.
Connector Arrangement
For safety, when constructing a connection system between a
Sensor and panel with a connector, make sure that the
connector plug is on the Sensor side and the connector socket
is on the panel side (i.e., the female pins are located on the
power-supply side).
Sensor Side
Connecting Cable
Panel Side
(Power-supply Side)
Safety Precautions
XS2
Precautions for Correct Use
Do not use the product in atmospheres or environments that
exceed product ratings.
Tightening Cap (Connector Assemblies)
1. Do not use pliers to tighten caps, otherwise the caps may
be damaged. Be sure to tighten each cap by hand within a
torque range between 0.39 and 0.49 N·m.
2. If caps are not tightened securely, the Connectors may not
maintain their proper degree of protection (i.e., IP67) or the
caps may become loose due to vibration.
Connector Connection and Disconnection
• When connecting or disconnecting Connectors, be sure to
hold the Connectors by hand.
• Do not hold the cable part when disconnecting Connectors.
• Connectors mating with sockets must be fully inserted into
the sockets. Tighten the thread bracket carefully so that the
threads will not be damaged.
• Fully tighten thread bracket within a torque range between
0.39 and 0.49 N·m and be sure that the threads of the
opposite parts are hidden by the thread bracket.
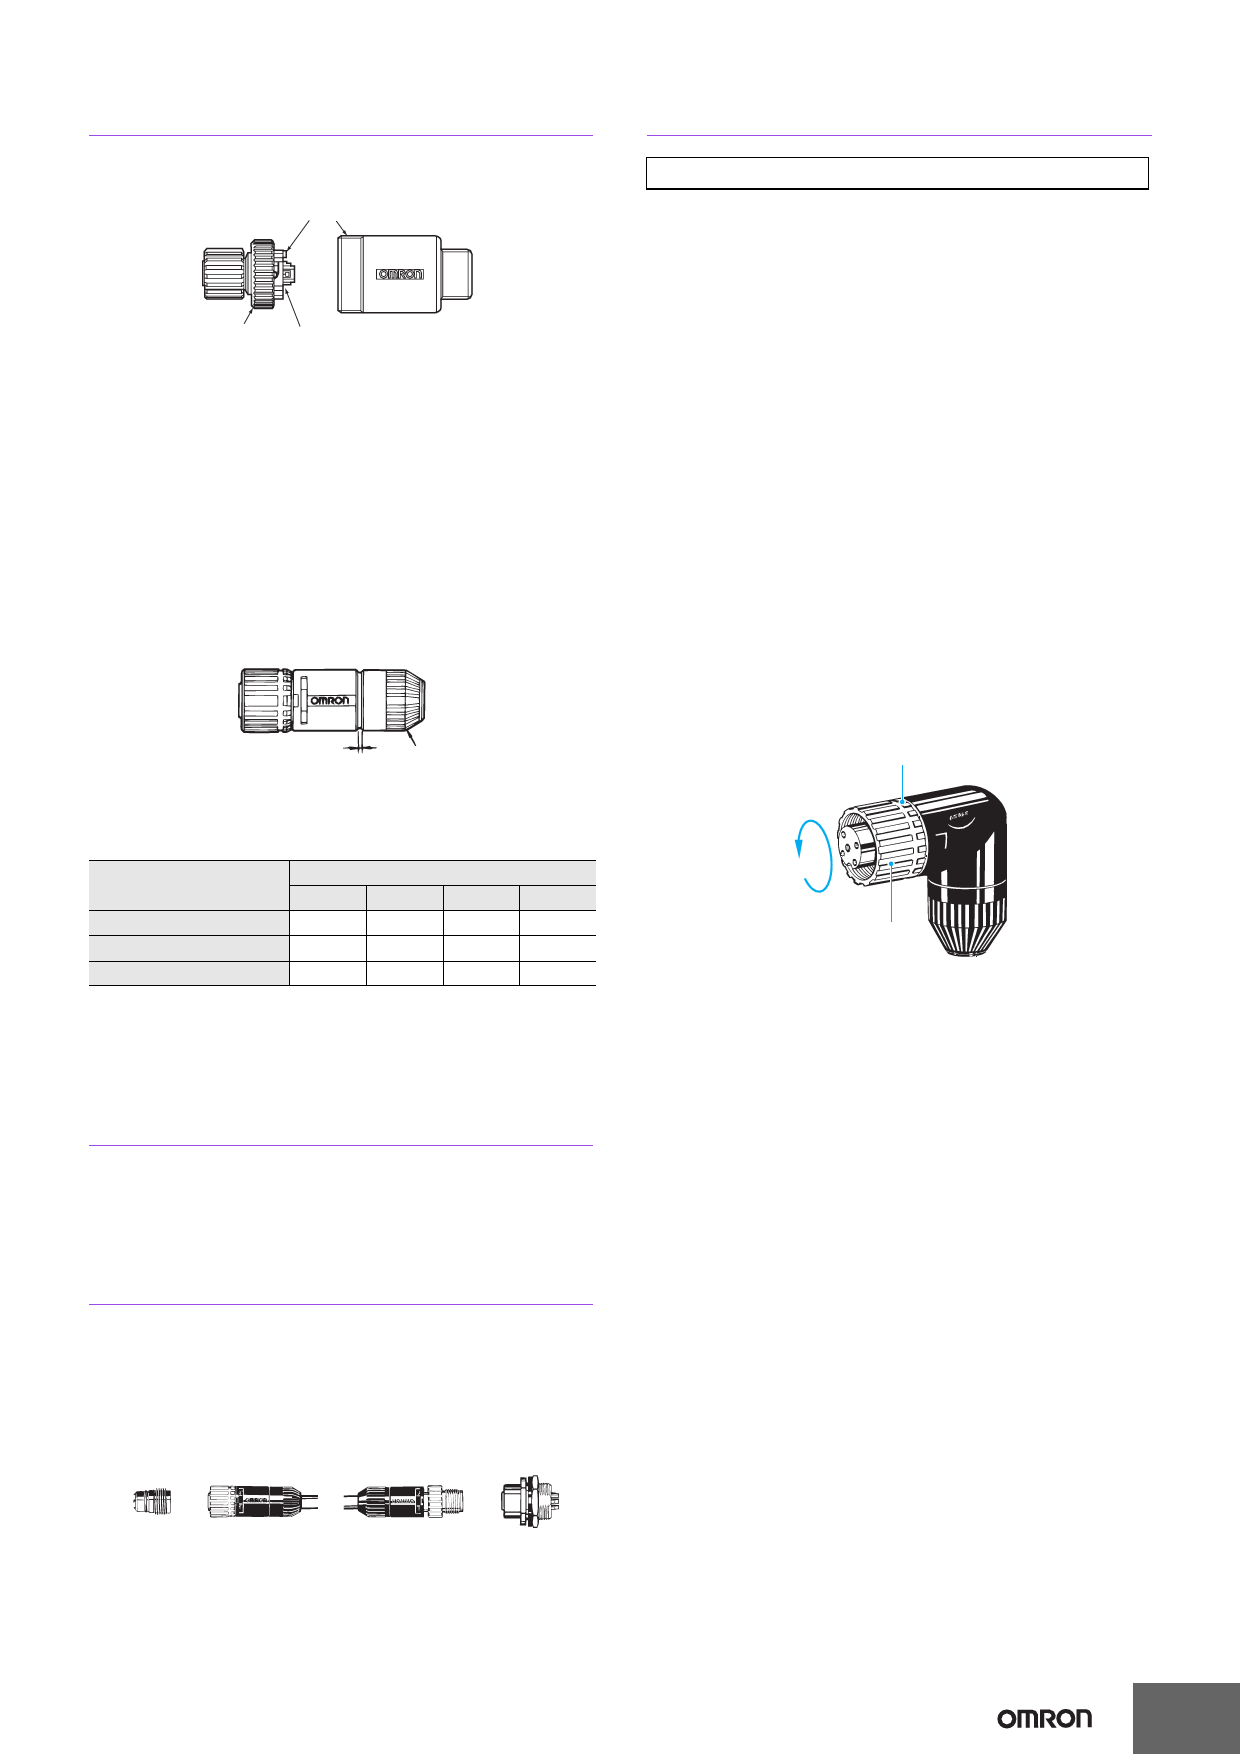
• When disconnecting Connectors, be sure to loosen the
thread brackets first. Do not loosen the caps.
• Thread brackets must be loosened in the cutout direction.
Cutout
Loosen
Thread
bracket
Degree of Protection
• Do not impose external force continuously on the joints of
pin blocks and covers, otherwise the Connectors may not
keep its proper degree of protection (i.e., IP67).
• The degree of protection of connectors (IP67) is not for a
fully watertight structure. Do not use them underwater.
• Connectors are of resin mold construction. Do not impose
excessive force on them.
Setup
• Do not make any cable bends near the base of the Unit.
• Any bends made must have a minimum radius of 40 mm.
(Plug)
(Socket)
(Plug)
(Socket)
26
Share Link: 